Phase-Locked Loop Comparison - 28nm Tapeout
Open page Comparing All-Digital (AD) vs Analog Mixed-Signal (AMS) Phase-Locked Loops (PLL)
Course: 18‑525/18‑725 Advanced Digital Integrated Circuit Design (CMU)
Team: PLL Pals — Hsien‑Fu Hung, Jason Lee, Tristan Liu, Roman Kapur, Gongwei Wang
Process / Die: TSMC 28 nm, within a 1 mm² die
Goal: Tape out both an All‑Digital PLL (ADPLL) and an Analog/Mixed‑Signal PLL (AMS PLL) on the same node to directly compare area, power, jitter, lock time, and design complexity.
Overview
Our chip integrates both an ADPLL and an AMS PLL, locking a 20 MHz reference to a ~1.2–2.4 GHz output range. The ADPLL uses binary-search frequency acquisition, a bang‑bang phase detector (BBPD), and a fully synthesizable DCO; the AMS PLL implements a source‑switched charge pump, second‑order loop filter, and a 7‑stage ring‑oscillator VCO. Bring‑up is planned for Fall 2025.
Final Design Specs
Key specs from post‑layout sims (@ ~2 GHz):
| Metric | AMS PLL (Actual) | Target | ADPLL (Actual) | Target |
|---|
| Lock Time (µs) | 2.0 | 3 | 1.0 | 3 |
| Jitter (ps) | 2.5 | 4 | 16 | 4 |
| Power (mW) | 1.0 | 10 | 2.5 | 10 |
| Area (mm²) | 0.012 | 0.015 | 0.0064 | 0.015 |
Specs measured at layout stage; AMS jitter also summarized as ~2.5 ps with 2 GHz clock (≈1.5% at 3σ).
ADPLL settings: 5‑bit DCO tuning (32 steps), ≈876 MHz–3.26 GHz range with 20–30 ps step size; scannable initial step for acquisition.
AMS PLL settings: CP currents 4 µA / 2 µA / 1 µA (combinable), loop‑filter caps 1×C1 / 0.5×C1 / 0.25×C1 (to 1.75×C1 max), resistors 1×R2 / 0.5×R2 / 0.25×R2; output divider ÷16/32/64.
AMS testing I/O: 2‑bit address + 3‑bit enables (5 pins) select CP current, LF C/R settings, and output‑driver path.
Design Choices
Why AMS choices:
- Source‑switched charge pump → higher output resistance & lower feedthrough vs drain‑switched; constant‑gm bias with selectable 4/2/1 µA settings.
- Second‑order loop filter chosen for stability/lock‑time trade‑off; target ~1–2 MHz BW (~1/10–1/20 of 20 MHz ref); example values C1 = 500 fF, R2 = 33 kΩ, C2 = 8.78 pF.
- 7‑stage ring‑oscillator VCO → lower design complexity vs LC, adequate jitter across target range; guarded layout with DNW and symmetry care.
Why AD choices:
- Fully synthesizable DCO (library‑cell buffers) for portability and ease of integration.
- Bang‑bang PD + counter‑based acquisition to handle 20 MHz ref and large divide ratios robustly.
System‑level rationale: Co‑fabricating both architectures on the same 28 nm die enables apples‑to‑apples comparison of area/power/jitter/lock time for future system design choices.
Story of Creation
This project was an adventure. 18‑525/18‑725 lets CMU students tape out almost anything within ~1 mm² on TSMC N28. Some teams collaborate with labs (and occasionally secure extra funding); others build passion projects (e.g., a prior team recreated the original Game Boy). Despite the “Digital” title, AMS or even fully analog designs are fair game.
From day one, we aimed to exercise AMS skills with a PLL comparison. A friend’s father at MediaTek suggested PLLs because they’re well documented and split cleanly across AD and AMS work. I focused primarily on the AMS PLL and later top‑level integration; two teammates handled the ADPLL, and three of us worked the AMS PLL.
Our first major hurdle: PDK access lag. We didn’t get the TSMC N28 PDK until ~week 7 (around spring break), effectively compressing a 14‑week semester into < 2 months of real design time. That shaped our scope: an integer‑N baseline with hooks toward a DSM fractional‑N path post‑silicon.
Top‑level bring‑up required significant flow hacking. The class scripts are tuned for digital; analog support is thinner. We iterated PnR + analog integration repeatedly, validated with DRC/LVS, and simulated heavily. Runtime was painful: full‑loop sims took hours; top‑level chip transient ran ~24 hours and consumed ~1 TB scratch for a simple 4 µs window.
We taped out successfully and will evaluate silicon in Fall 2025. Future work: add the delta‑sigma modulator for fractional‑N and extend on‑chip testability.
Using PDF Solutions Software to Root Cause Intel Yield Issues
An Introduction To The ASIC Flow for Analog Circuits
Showcase of 18-341 Digital Design Projects
Adding My Spotify Activity
I was inspired by Josh adding his spotify activity to his page and so I wanted to place mine here and see how easy it was to do now with codex…
It took me about an hour to get it all done, mostly because I gave codex a job - which it would finish in a few minutes - but I would go watch an episode of anime, which is 20 minutes. This meant that I wasn’t working very optimally. I must also say that I needed some manual intervention to generate the spotify tokens and to add my environment variables to my vercel build, but beyond that it worked pretty seemlessly.
I did for a second think that the new build broke the navbar, but I realize now that my mouse is broken and so it would just double click things… I kinda wish it broke the website and my mouse was fixed :(
Anyways, great success! Enjoy seeing my music, I have great taste!
Vibe Coding Some New Paint
I was listening to Transistor Radio and in it one of the guys was glazing claude code (the episode had come out in the beginning of january) and given I had created this website using chatgpt I figured maybe it was time for an update using Chatgpt’s codex (the app just came out feb 2nd).
It has honestly been really great, it is a major step up in the vibe coding experience. Instead of trying to work with copying and pasting coder pad results, codex makes the whole work flow so much easier and better. it gets its own context and you really don’t need to do much scaffolding.
I haven’t tried anything too fancy yet, I’m trying to think about what API I can bring into the website to test out how well codex can interact with things that are more difficult than simple front end stuff. I don’t have many ideas on what to add though. I’m still figuring out where to place the blog in all this.
Anyways here two images of what the old site looked like. I think the new bar and the start up loading transitions make it a lot better lol. It is crazy how much better the website is now than the first rendition in “I GPT’d this whole website lol”

AI Additions and Experiments
I’ve been trying to take this website in a new direction. The main point is to have something for recruiters to look at, which I think is still the main goal for this site. However I’ve been trying to work in a place to put the void page somewhere, but more as an easter egg. I like the idea of writing to my own website and I want everything to happen in one place.
Soooo how have I been trying to work this void page in?
Well actually I’m going to take another step back and mention how I’ve been trying to figure out a new background for the website. I still haven’t really come up with anything but the story starts there with me trying to figure out how I could make a backgorund that is animated. I never really found the effect I wanted and instead got distracted by how to hide the void page and I came up with the idea of having something that if the user clicks on a couple times the link to the void page will show up, but generating this figure has been way more work than I thought it would be.
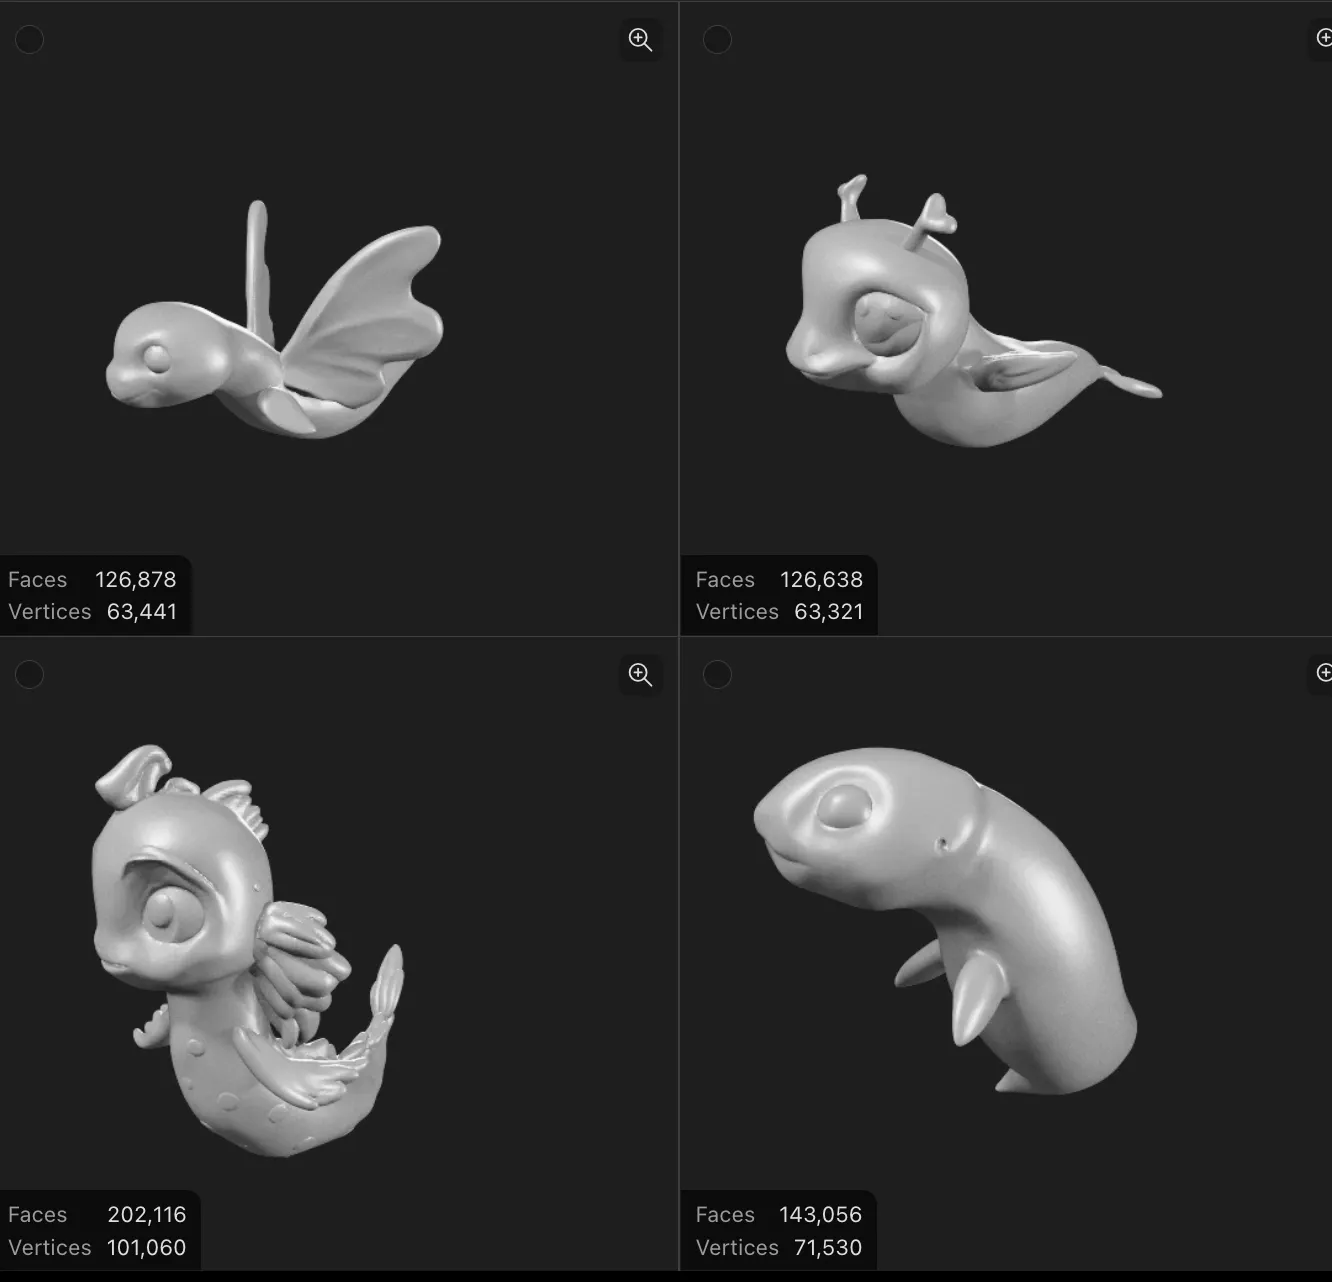
I started with trying to use chatgpt to generate an image of a figure to go somewhere and then from there using a image to 3d model site to create a model that I could then animate… it took fucking forever to try and get these ai tools to create a model of the figure I wanted (I was trying to make the icon an electric eel since that was the mascot for 18220 - the class I TAd for 4 semesters) that was of decent quality. But anyways I got something to start with, the tools really struggled with an eel I think because it isn’t very humonoid but then as I was booting up blender I just got too intimidated to continue down that path. It just seemed like a headache I didn’t have time for at the time… so I dropped the whole thing for a bit.
Here are a couple of the ref images I tried to use and the example of the models that it generated (nothing really usable, especially not for a novice like myself)


Fast forward a couple weeks and I opened up sora for the first time on my chatgpt account and saw that josh (who I share a gpt account with) had originally tried to generate animations with it… so I decided to give it a go. This time I was like lets try making a penguin instead of an electric eel because even though the electric angle is lost, i think penguin dipictions are tope tier and plentiful. Well after a couple hours of trying different prompts, storylines, and using other images as references sora was producing horrible results. Literally nothing that sora was making was good. If I didn’t spam a bunch of context the model seems to just go crazy and make a bunch of random stuff
I tried to make like gifs of running after a chip modeled after these two example, but the results were horrible


I ended up getting chatgpt to make two reference images and I was like plz sora just connect these two and even then it would go crazy, I did finally start to get a decent result though
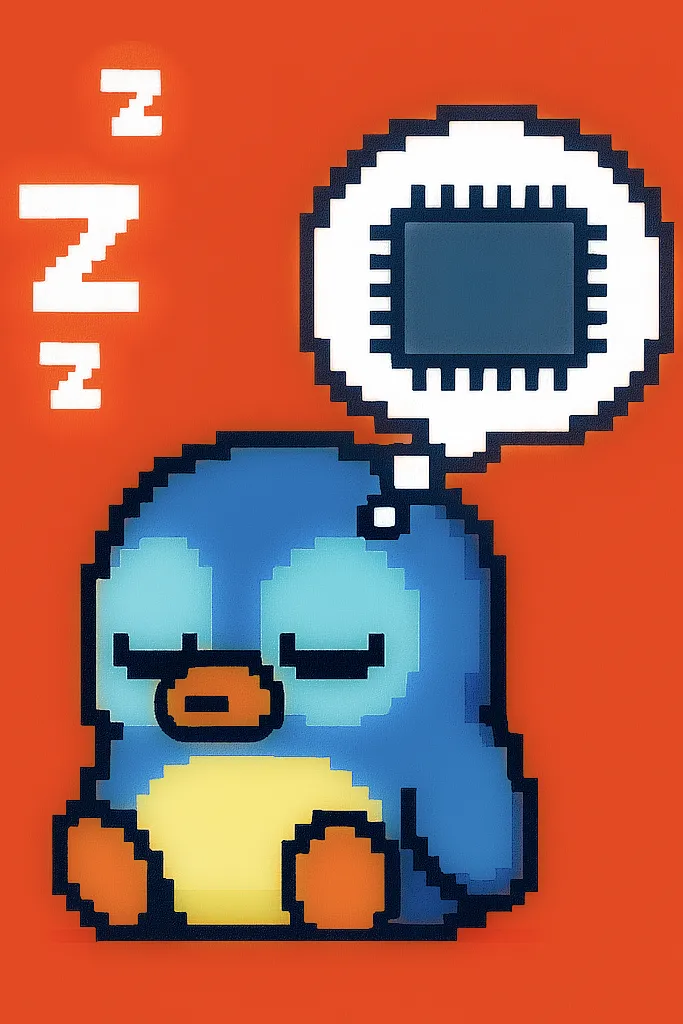


first decent result, but it really didnt get the result I wanted (at least it wasn’t crazy weird though)

After all of this though, I realized that I really needed the gif to have a transparent background which AI really wasn’t doing for me, so then I was like well I really only need some simple power point type fadding dransitions here how can I get like that with a transparent background… so I went back to gpt asking what should I do and it provided me a python script to connect the images and then I got it to add some Zs and finally I was on my way, here is the results I’m happy with.
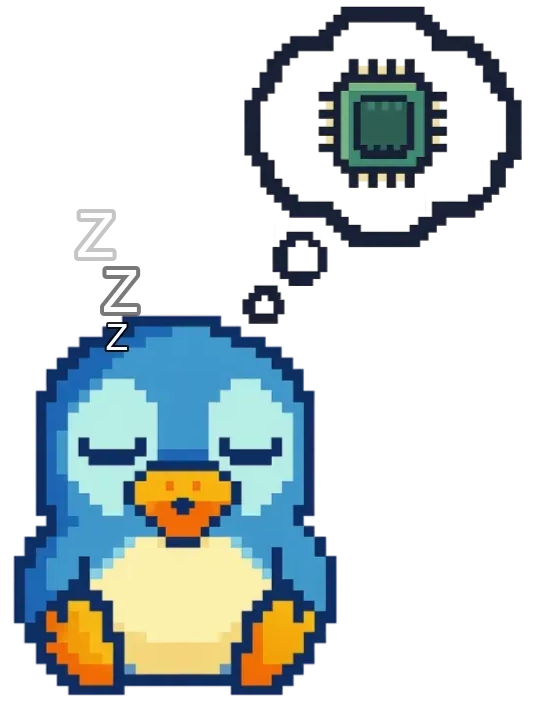
Still not quite sure if this is the final result but man it taught me a lot about how the AI image stuff is really not there yet - or maybe it is a me issue (but I’d argue that if I can’t due it after a couple of hours of tinkering, then really no one is and especially the less techically literate majority market) Anyways I’m going to keep thinking about how to work ether into the main site… if you’re reading this then I probably have figured out that connection!
I GPT'd this whole website lol
I hardly wrote any code to make this website. Like the most I did was fiddle with like text height or mess with object atributes. I’d say like I “understand” the code just because I understand the flow of code in general. But I really dont know the syntax nor would I be able to recreate this without the help of gpt.
At this point this is just the mvp of what I wanted this project to be - it will probably change a lot at some point in the future - especially the background and overall theme.
I think this notes section will probably change the least. I just plan to keep it really bare bones. The project tab looks really unpolished rn, once i get more stuff there I would like to add in tags and maybe try and give that page a cooler spin - something more dynamic and interactive?
Also, I guess it makes sense this website was so easy, I’m really not doing anything difficult. There is no authentication or even calls to an API system. The backend is a couple of markdown files. If I come up with an idea that needs those features, maybe I’ll add it in. Ultimately though, I don’t really want to sink a bunch of time into learning the ecosystem of web development. I love making chips and the stuff these websites run on.
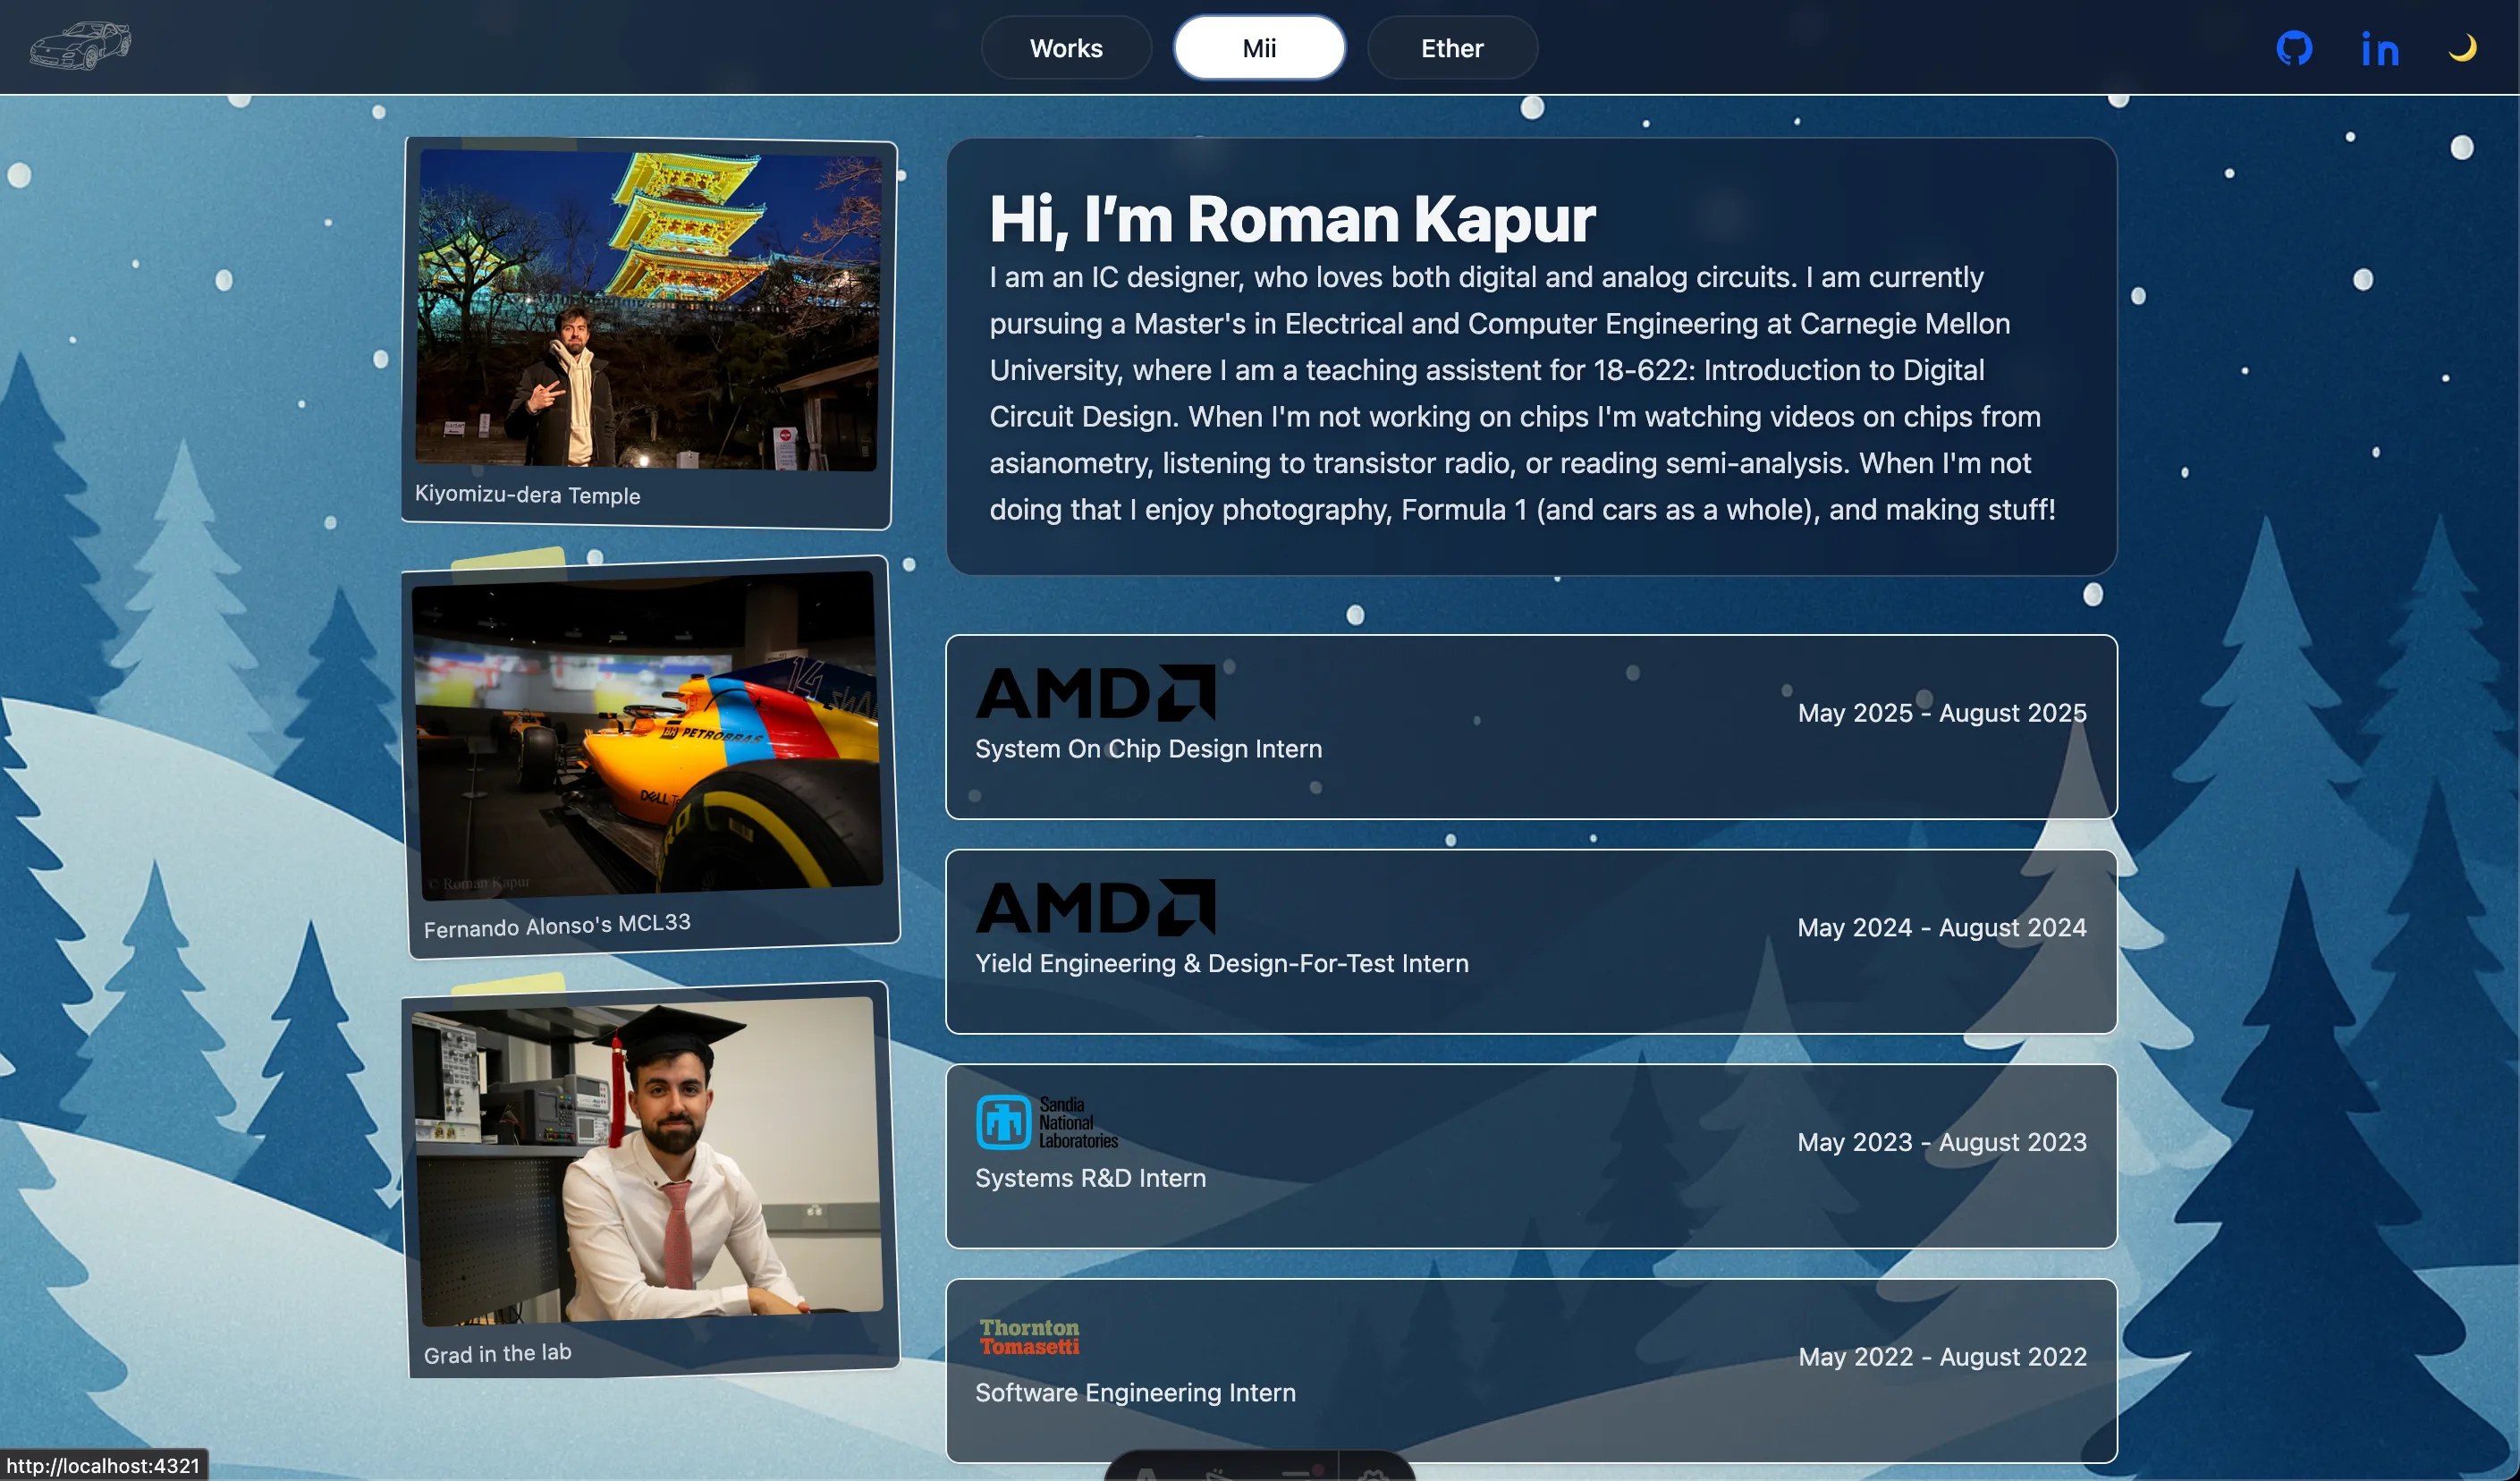
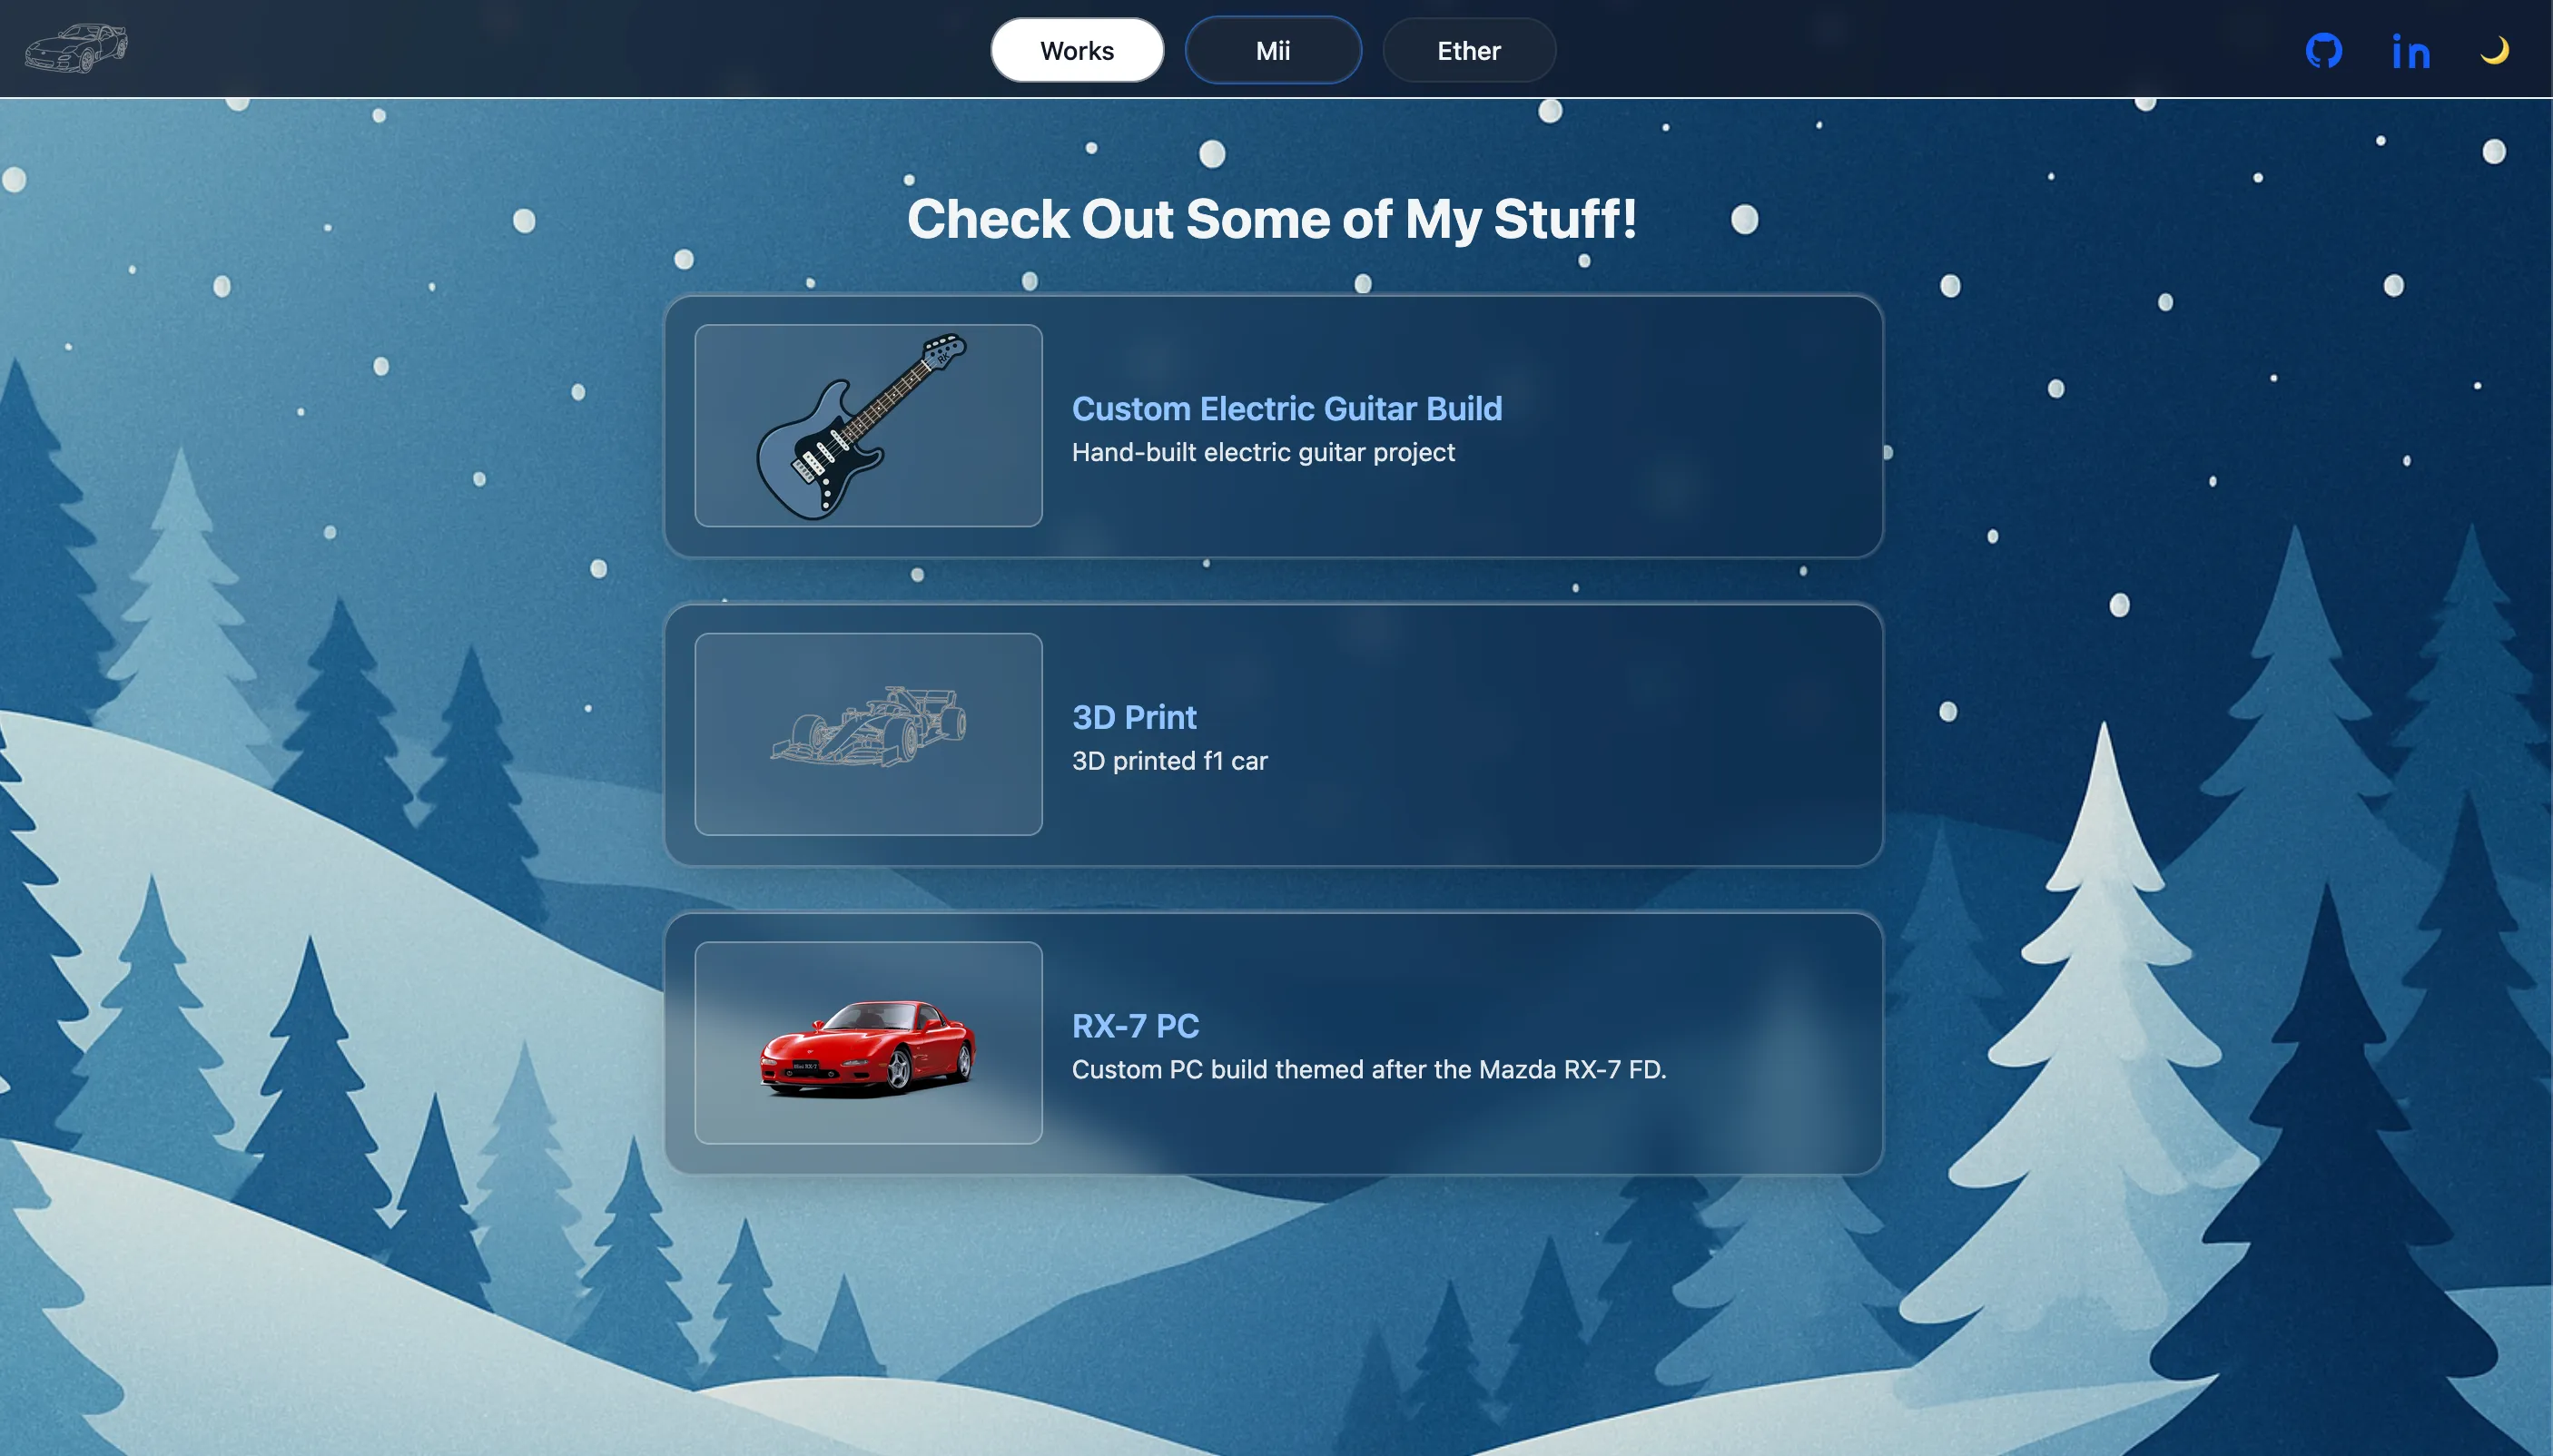
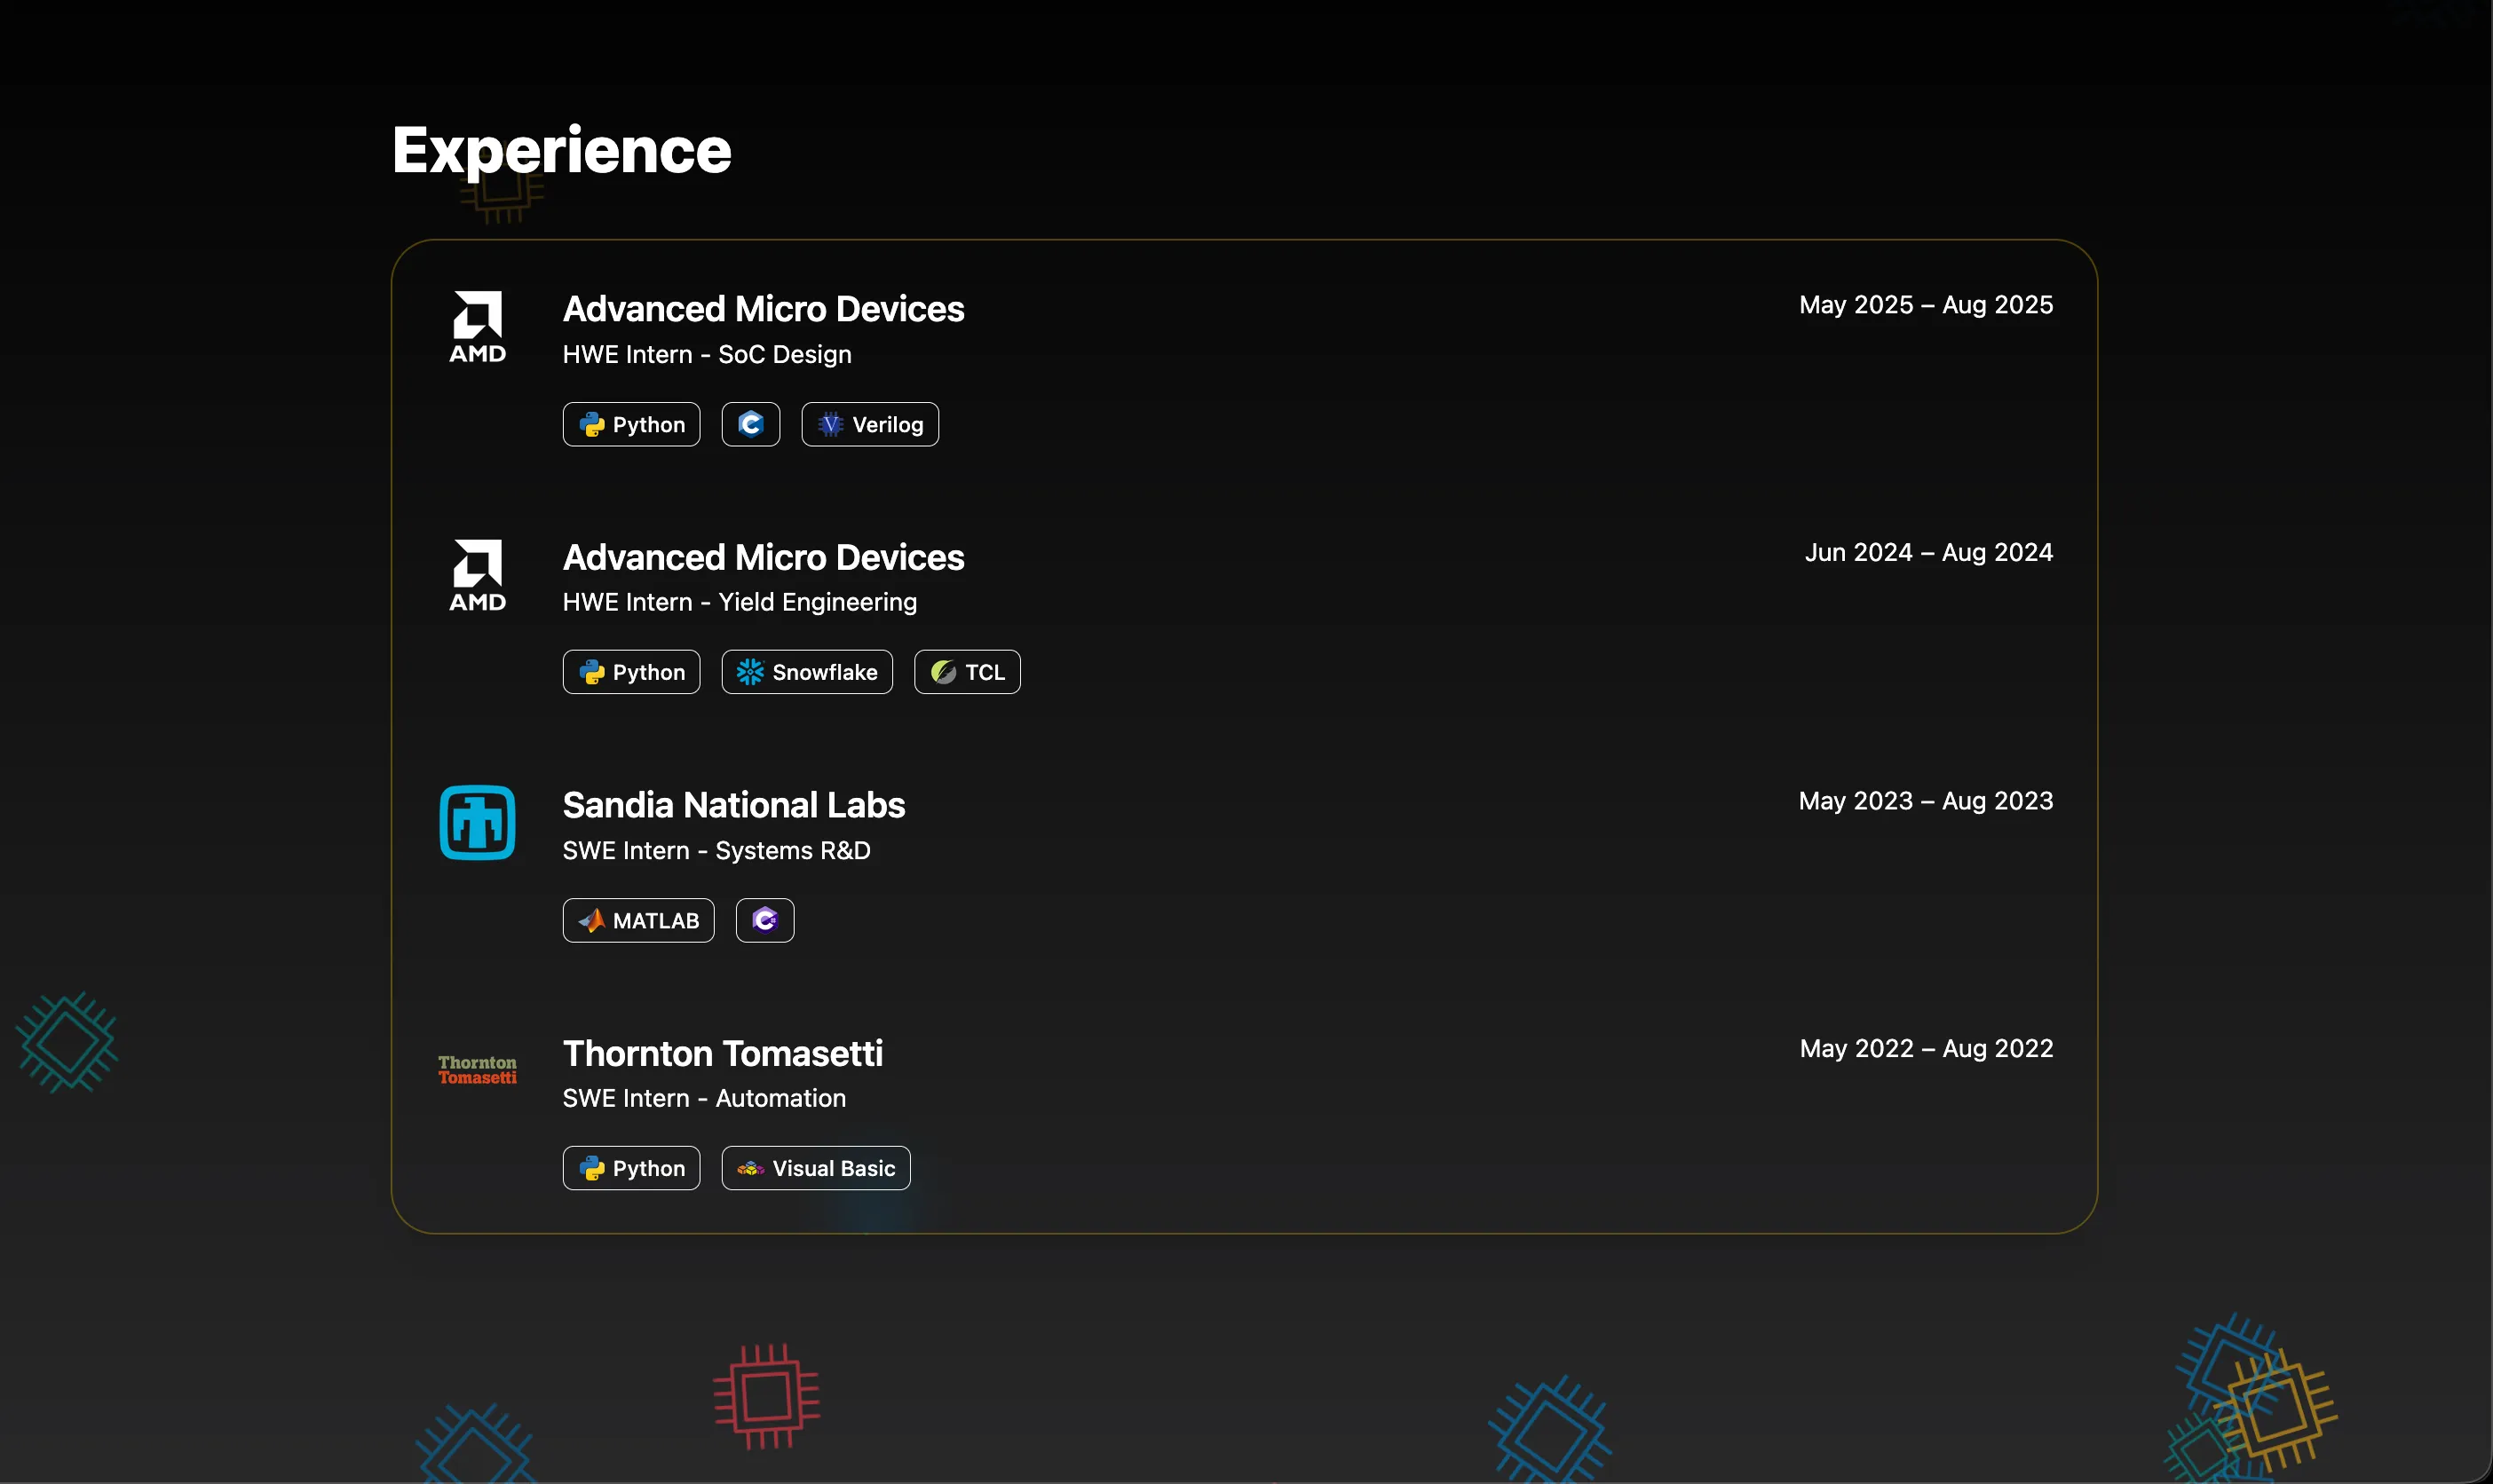
I’ll include some images of what the site looks like right now for memories sake (assuming I ever actually change it lol)